A required step in wig preparation is cutting the lace from your lace front wig. Why? Wearing your wig is more comfortable as well as aiding in the lace’s ability to lay flatter. Being an expert at cutting your lace front wig is necessary if you want it to seem as natural as possible. It’s unfortunate that many people don’t have the slightest idea about how to trim lace, as it’s crucial for a smooth and seamless finish. All the information you require to properly cut a lace front wig is provided in this article.
First, You’ll have to Understand the Lace Front Wig
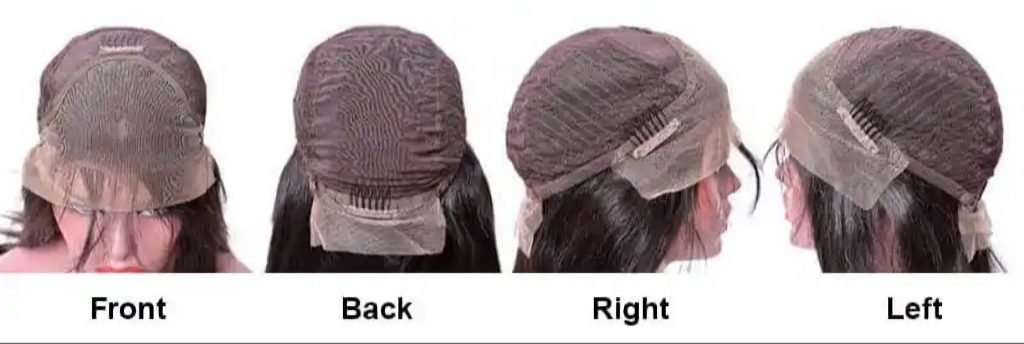
Learning about lace front wig construction is essential before cutting the lace. By following these instructions, you can avoid damaging your wig. To comprehend how a lace front wig is made, refer to the illustration below:
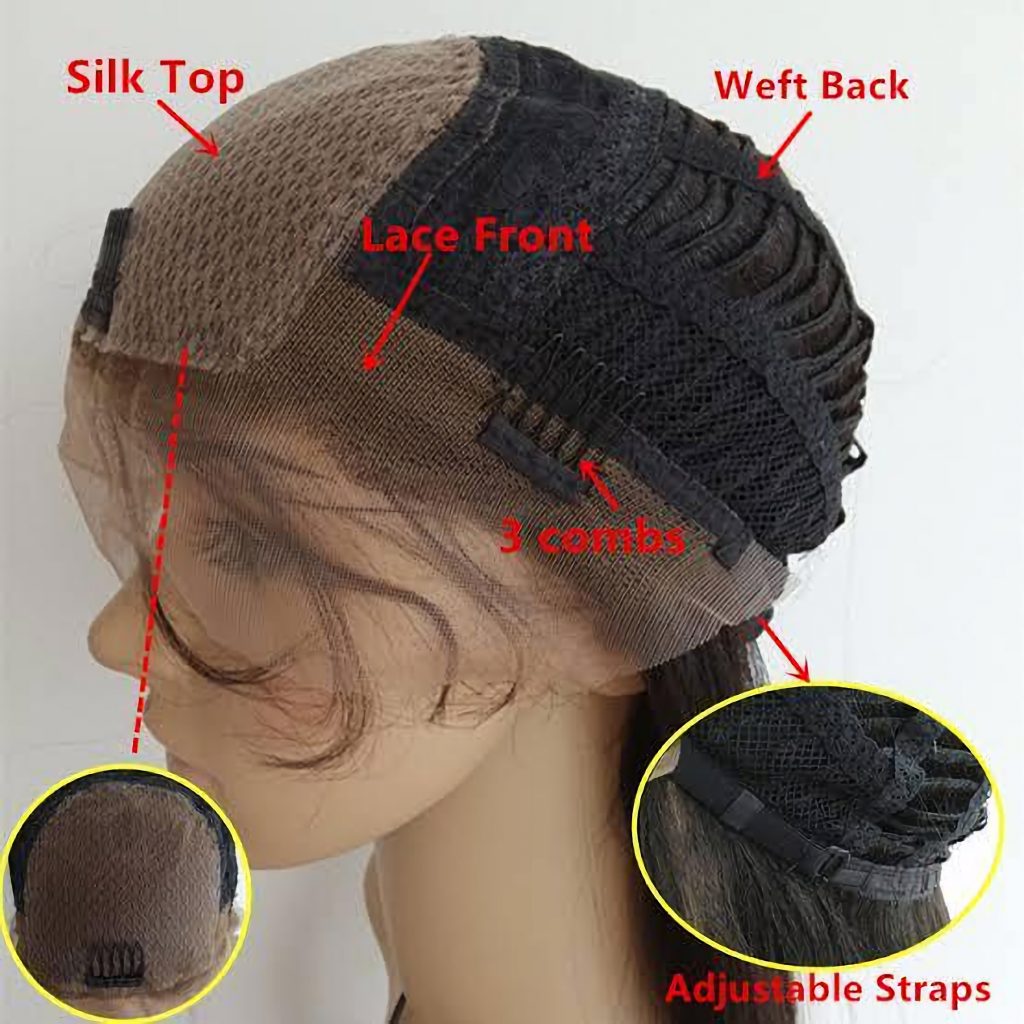
Lace front wigs are made of the following components:
The front lace: A front lace panel is found on every lace front wig. To the lace, hair strands will be hand-tied. Your wig can be personalized with a middle part, side part, or deep side part thanks to the front lace. Considering how fragile the front lace is, you must take extra care not to rip it while cutting. 13×4, 13×5, and 13×6 inches are among the sizes of the lace that are available.
The weft cap: The weft cap is the wig cap (without the lace). Here, elastic netting and hair wefts are sewn together.
The adjustable straps: To ensure that your wig won’t fall off or be too tight, adjustable straps let you create a bespoke fit. Depending on your preferences, you can make the straps tighter or looser. When cutting the lace around the ears, we advise using caution because one end of the adjustable straps is attached to it (the ear tab). Cutting the straps that are adjustable will damage your wig.
Three combs: The combs help in attaching the wig to your own hair. If you decide not to use them, they are easily detachable.
A typical lace front wig consists primarily of these parts. Additionally, flexible ear tabs that aid in lace lying flat are included in glueless sets.

Lace Front Wig Cutting Tools
Before you cut your lace front wig, be certain you have the necessary tools:
• Measuring tape
• Clips (Large)
• Rattail comb
• Scissors, eyebrow shaper, or razor
• Mannequin head and T-pins (optional for beginners)
• Foaming mousse or water
• White makeup pencil
A Step-by-Step Guide for Cutting a Lace Front Wig
A lace wig can be cut easily with the appropriate instructions. If you want to remove the lace from your wig properly, follow these instructions.
Step 1: Choose how you want to cut your lace.
If the wig is on your head or a mannequin head, you can cut it while wearing it. We advise beginners to cut the lace on a mannequin head because it is the safest and simplest method to use.
Step 2: Put the wig on.
On your head: The wig’s hairline should be a quarter-inch or so above your own. With the help of its adjustable straps and clips, secure the device. Ensure that the lace is perpendicular to your head.
Atop a mannequin head: Use a few T-pins to fix the wig after placing it on the mannequin head. It won’t slip around too much that way.
Step 3: Draw the hairline
Trace your hairline from ear to ear with a white cosmetic pencil. It only requires that you trace a line on your skin that resembles your hairline. Keep in mind to allow a quarter-inch gap between the traced line and your hairline. If necessary, backcomb the wig’s hair and secure it with clips to keep it out of the way. If you need to hold the hair in place, use a little style water or mousse.
Draw the top of the lace line a quarter-inch in front of your natural hairline if you’ll be using a mannequin head. Then, fully secure the wig to your head. In this manner, you can use the lace’s line as a guide while cutting the lace after placing the wig on your mannequin head.
Another possibility to think about is measuring with a measuring tape. Anyone who wishes to trim the lace in the hairline of the wig but doesn’t have an uneven hairline will love it. Place the measuring tape at the front, at the center of the lace (on the wig’s hairline), first. Do the same thing close to the ears and about an inch above that position. Create lines to join each of the dots after that.
Step 4: Cut off the lace.
a. Make use of a tool that feels secure to you. To trim your hair, shave your eyebrows, or even cut your nails, use shears. Don’t forget to keep your tool sharp. It can even damage the lace if it isn’t, as it won’t cut through it properly.
b. So that you don’t unintentionally take off too much lace, hold the lace tight as you cut.
c. Make small, undetectable zigzag cuts. The lace melts more readily and appears more natural when it has a somewhat ragged edge—no straight lines.
d. Cutting the ear tabs is important. Make a one-inch segment of hair above one of your ears part with your rattail comb before cutting the ear tabs. Allow the sections of hair you divided to fall downward. Right in front of the wig’s hairline, grab the lace ear tab and trim off any extra lace. For the most natural results, cut it into the shape of a C. Continue on the opposite side.
e. Be careful not to cut the elastic band close to the ear tab or the wig’s construction cap.
f. The lace should be trimmed directly in front of the baby hairs if a tracing line wasn’t made.
A Different Approach for Novices
No problem if you are hesitant to cut the lace off in one piece. To simplify the process, you can cut the lace into manageable pieces.
Follow these steps:
a. From the lace’s edge to your created guide line, cut the lace vertically. You can chop vertically however many times you like. One in the center and two more on either side ought to work. You should then have several little lace strips to cut.
b. The same steps from the last section can be used to cut a strip of lace horizontally into the shape of your line.
c. Repeat with the additional lace strips.
Finally, even while cutting your lace front wig might initially appear difficult, if you follow all of the guidelines in this guide, you’ll be an expert in no time.
Shop Our Picks
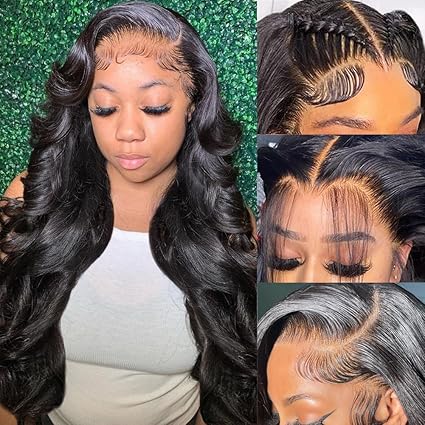
28 Inch Body Wave Lace Front Wigs Human Hair 13X6 HD Lace
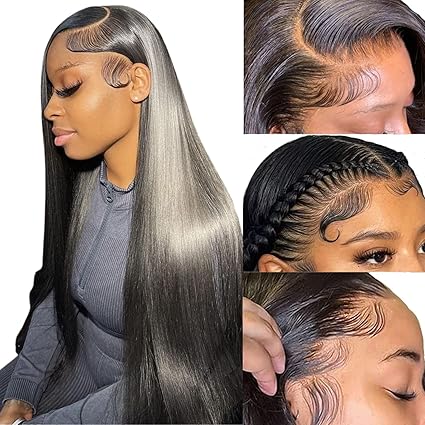
Straight Lace Front Wigs Human Hair 180% Density 13×4 HD
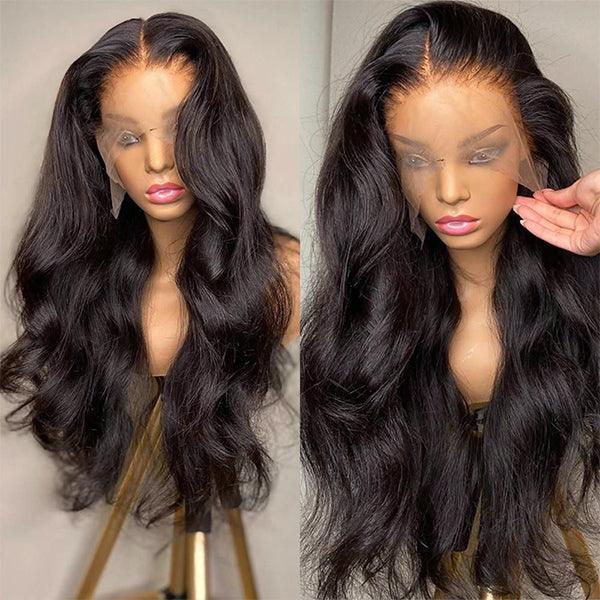
Body Wave 13×4 Frontal HD Lace Glueless Long Wig 100% Human Hair


