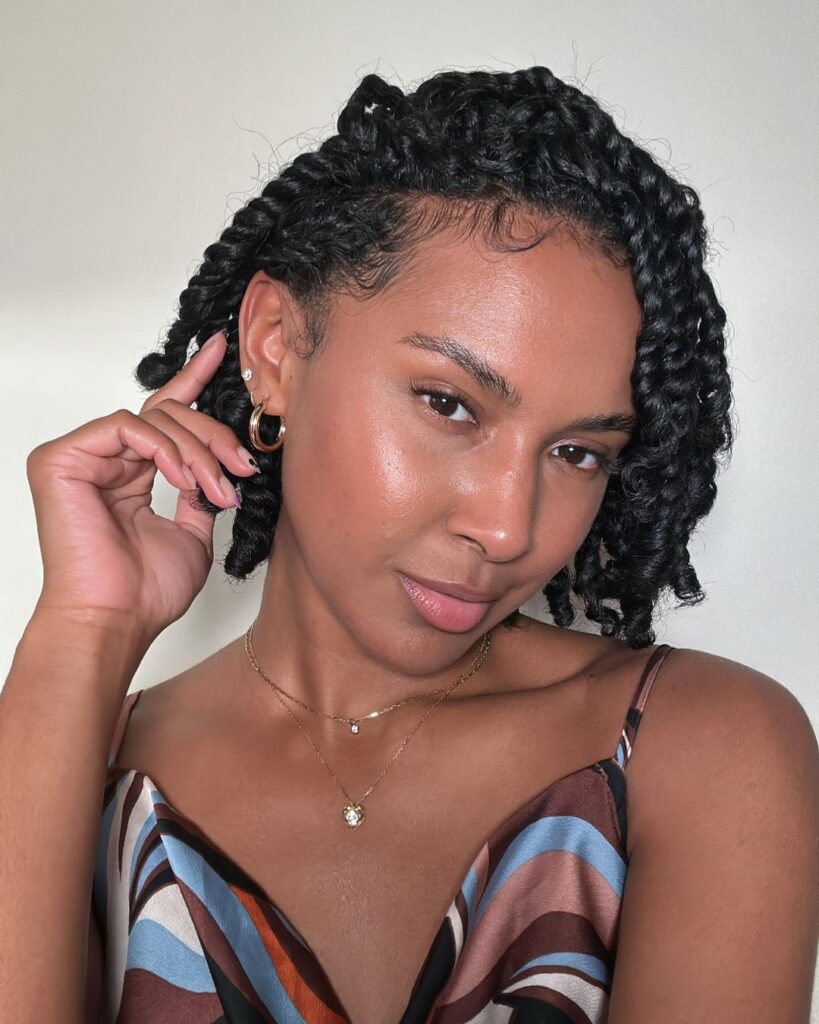
Mini twists have always been a go-to for a subtle yet chic protective hairstyle.
Aside from being low-maintenance, this hairstyle can last upto 6 weeks and doesn’t require a braider. This hairstyle’s versatility is a first step toward the twist-out look. It can be worn in side-parted bobs and half-up ponytails, as demonstrated by celebrities like Lupita Nyong’o and Tabitha Brown.
Now, thanks to TikTok, mini twists are becoming more mainstream and popular. A quick glance at the hashtag #minitwists the buzzy hairstyle has received 65.8 million views with images or tutorials on the look trending.
But before you get a mini twist there are a lot of things you may have to consider first like the amount of effort it takes to create them and how long they last. And if you’re new to the natural hair game, there are a few technique switch-ups to ensure hair stays frizz-free and intact.
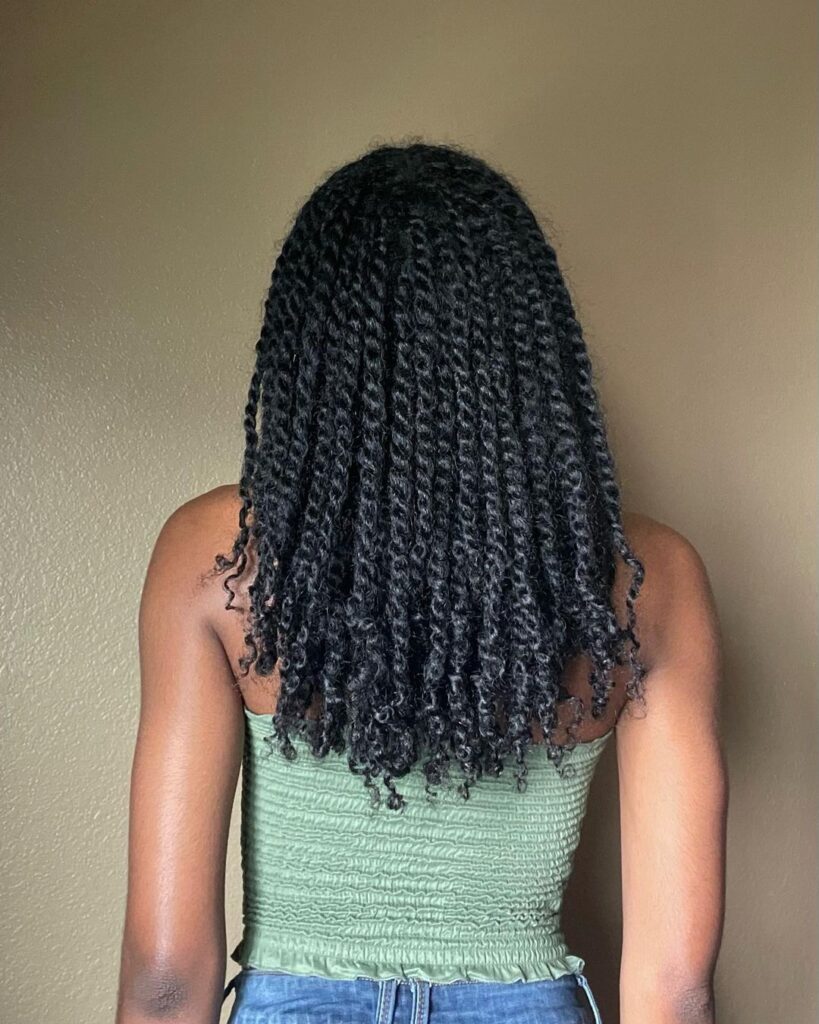
Read on for everything you’ll need to know to achieve the look at home.
What Are Mini Twists?
Mini twists simply involve twisting tow small portions of hair to form a rope-like pattern. They can be done on natural hair or with kinky texture extensions to provide length and fullness.
What You’ll Need to Get Started
- Parting comb
- Wide-tooth comb or brush
- Leave-in conditioner or curl cream
- Hair clips
- Braiding gel
- A handheld mirror
Steps
Begin with freshly washed hair
To guarantee that your twists look refreshing and last as long as possible, begin with well washed hair. Moisturize your strands before style with a deep conditioner and leave-in conditioner for 20-30 minutes.
You may want to blow-dry or stretch your curls before twisting, especially for for tangle-prone or loc-prone hair types. Reapply your leave-in product (if you fall under the said hairtype) to bring some of the style of your curls back into your blown-out hair. This will protect your twists from looking and feeling limp.
Section Your Hair
Depending on how thick your hair is, divide it into four to six portions. Apply your leave-in conditioner, and then fasten your hair with a clip.
Begin from the back of your head.
For precise parts use a portable mirror. Then divide your hair into squares and apply your cream to each piece before twisting.
Twisting Process
Apply a tiny amount of twisting cream or gel, divide the area of hair into two. Then twist one section clockwise around the other, then down the length of the hair to the end. Make a secure twist by wrapping the ends over your finger several times. Repeat this procedure over the entire head.
Use your hair as a guide
To prolong the twist’s life and reduce the possibility that it may untangle too soon, avoid getting slack during twisting. Twist in one place, shifting your hands when necessary.
FAQ:
How long do mini twists last?
Mini twists can last up to a month before mating and tangling. If you intend to preserve your little twists for a long time, you should wash them. Dilute two to three tablespoons of shampoo with water in an empty nozzle bottle. Apply the mixture to the twists and scalp, rubbing gently with your fingertips before thoroughly rinsing with water. Repeat for conditioner, then dry your hair with a microfiber towel or blow dryer. During that time, use a hair mist and a hair oil to moisturize your hair and scalp.
Do mini twists help your hair grow?
Mini twists are a protective style, which means they will shield your hair from damage and additional handling. This helps to maintain your hair’s length and grow out.
How much do mini twists cost?
Professional mini twists can range from $100-$200, depending on the stylist, length, and number of hours.
Can you wash mini twist
Yes, you definitely can. It is important to maintain healthy hair and scalp to prevent matting and locking.
Here’s how to style the look
Mini twists give countless styling alternatives, such as center or side portions, extremely short or long hairstyles, accessories, or basic choices.
Mini Twist Bantu Knots
Mini Twist Space Buns

Low Space Bun Mini Twist
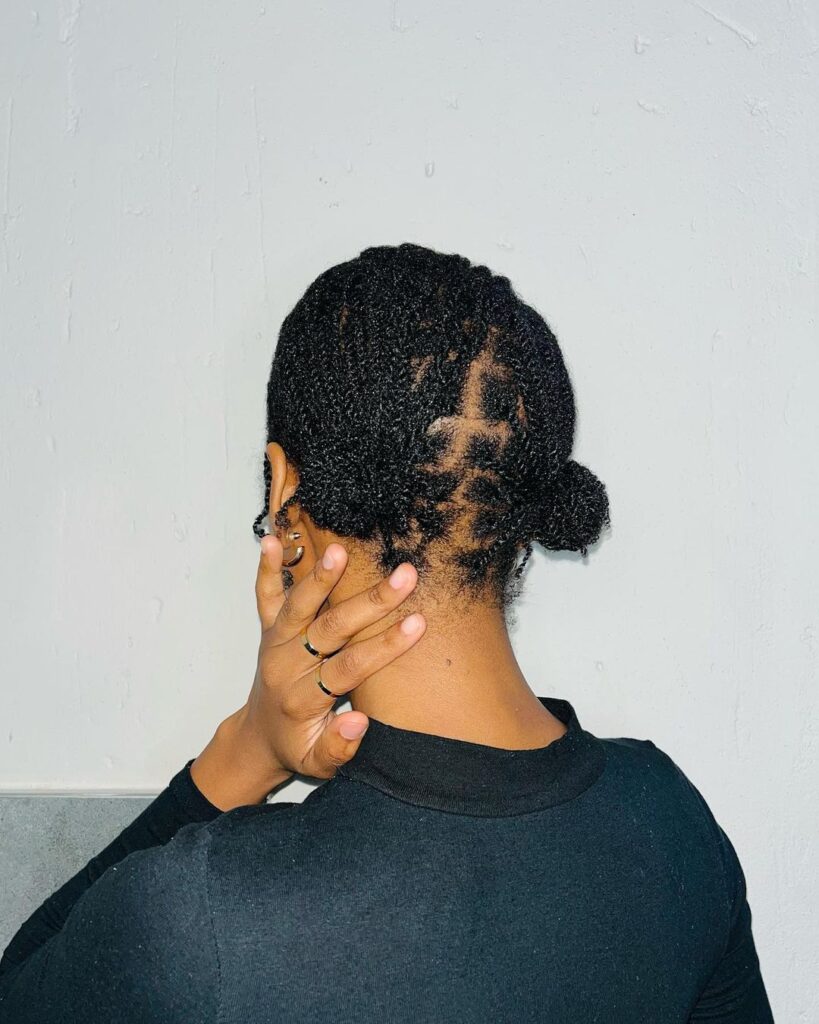
Braided Low Crown
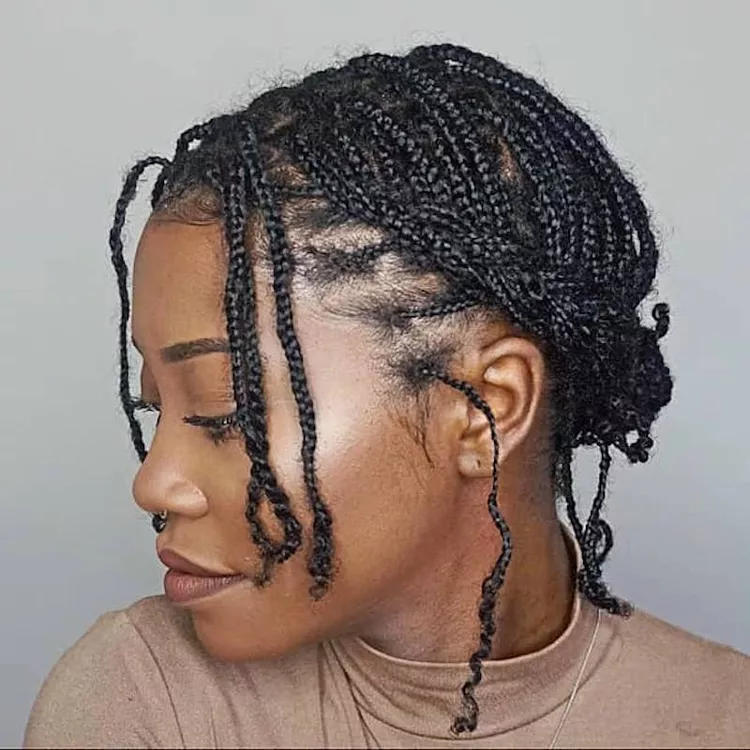
Long Mini Twists
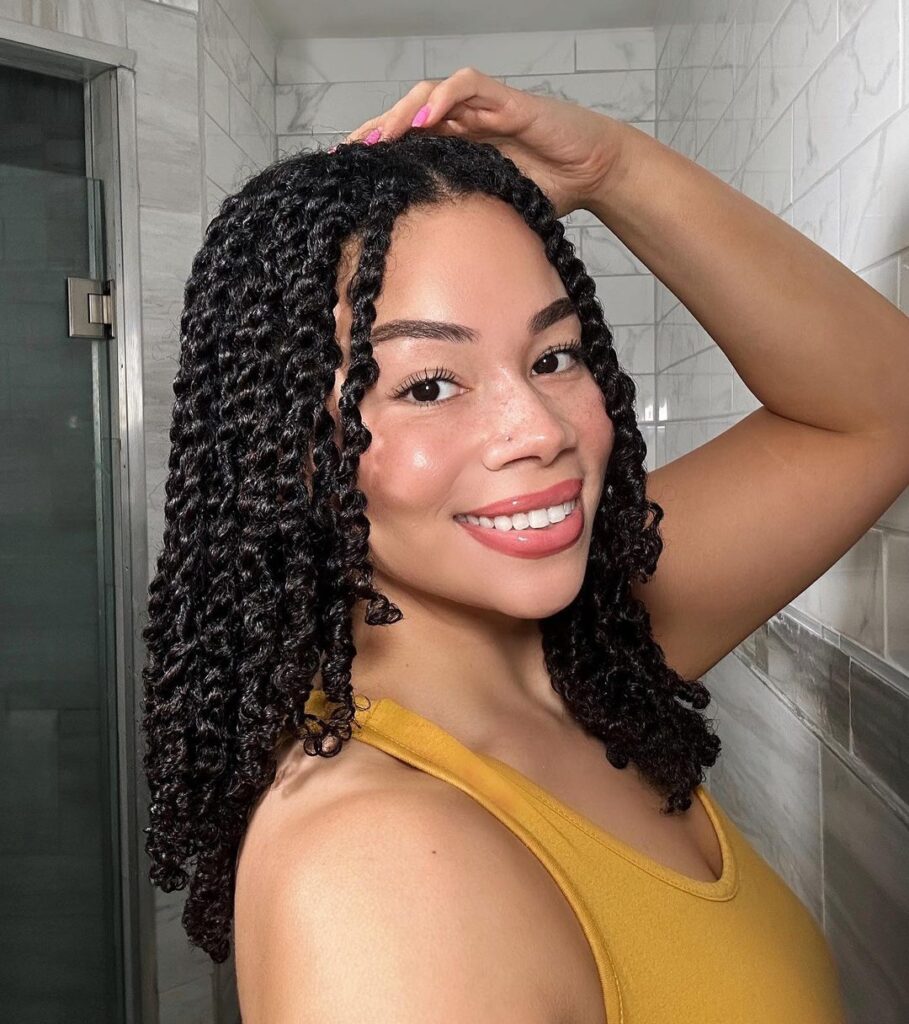
Beaded Twists

Half Up Mini Twists
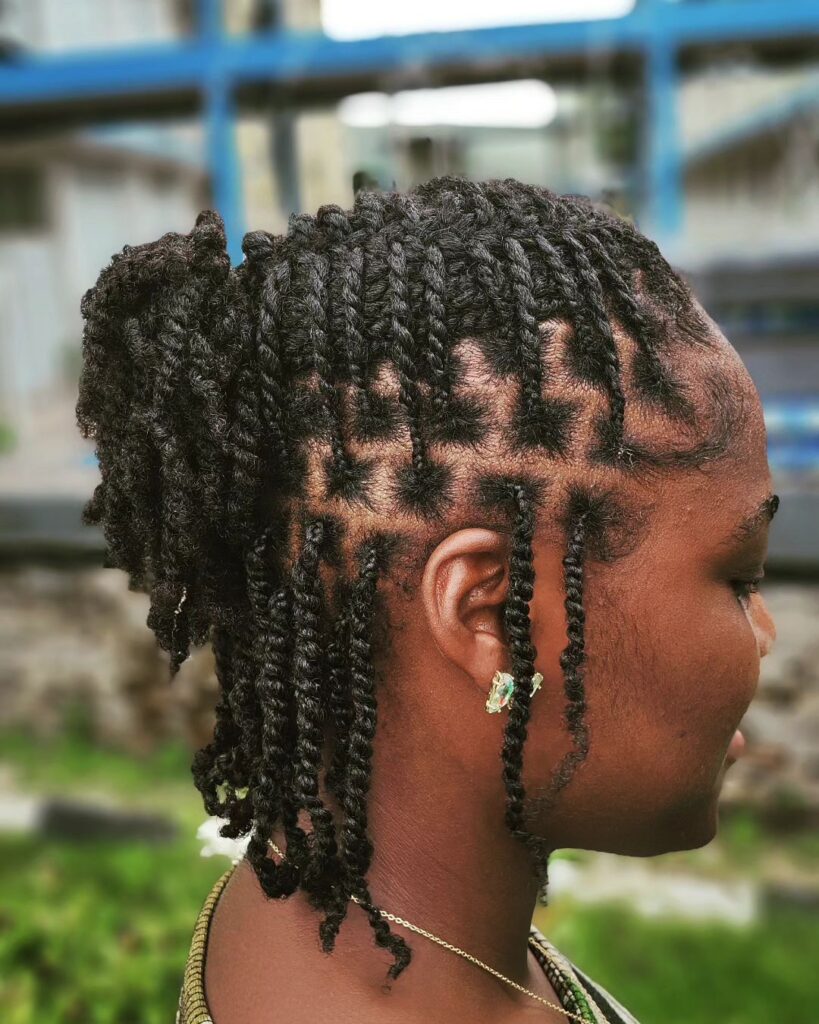
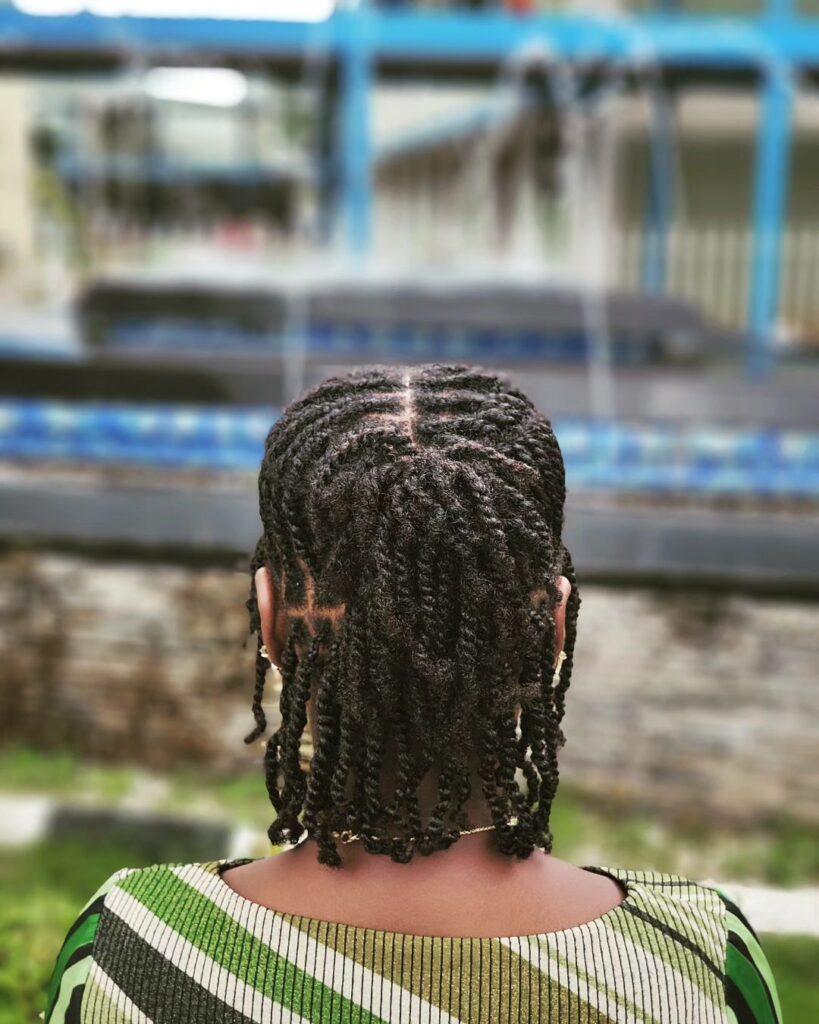
Side Swept Twists
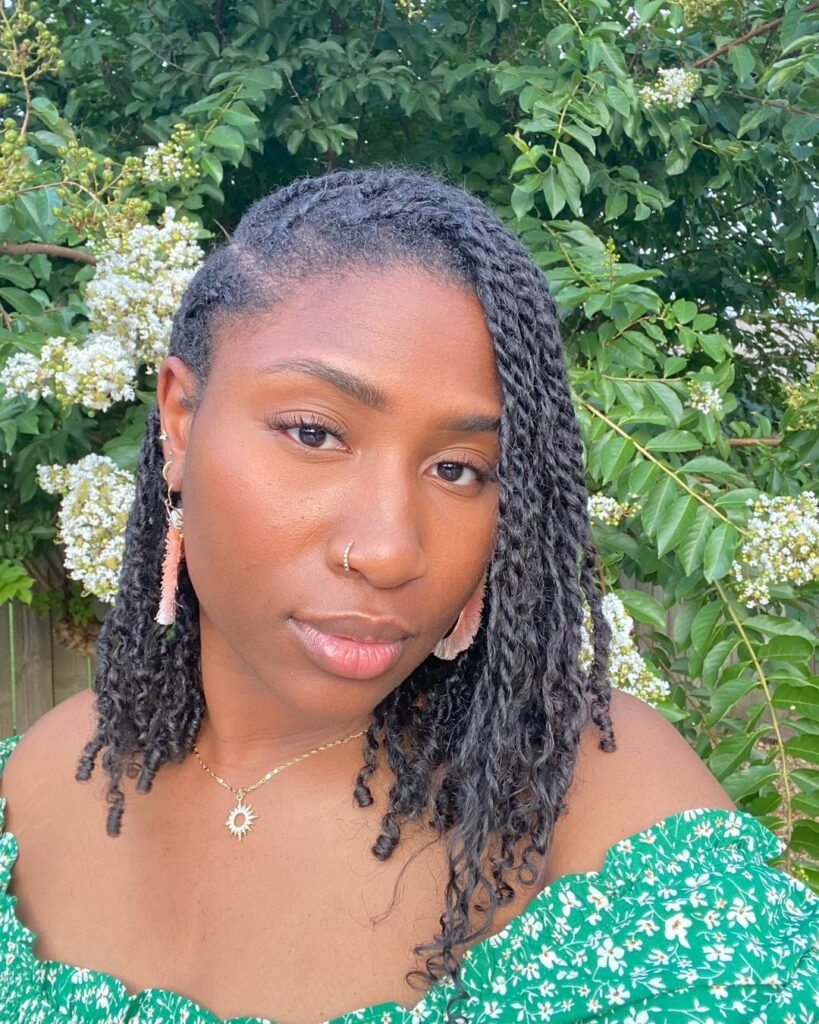
Mini Twist Pixie

Side Cornrows
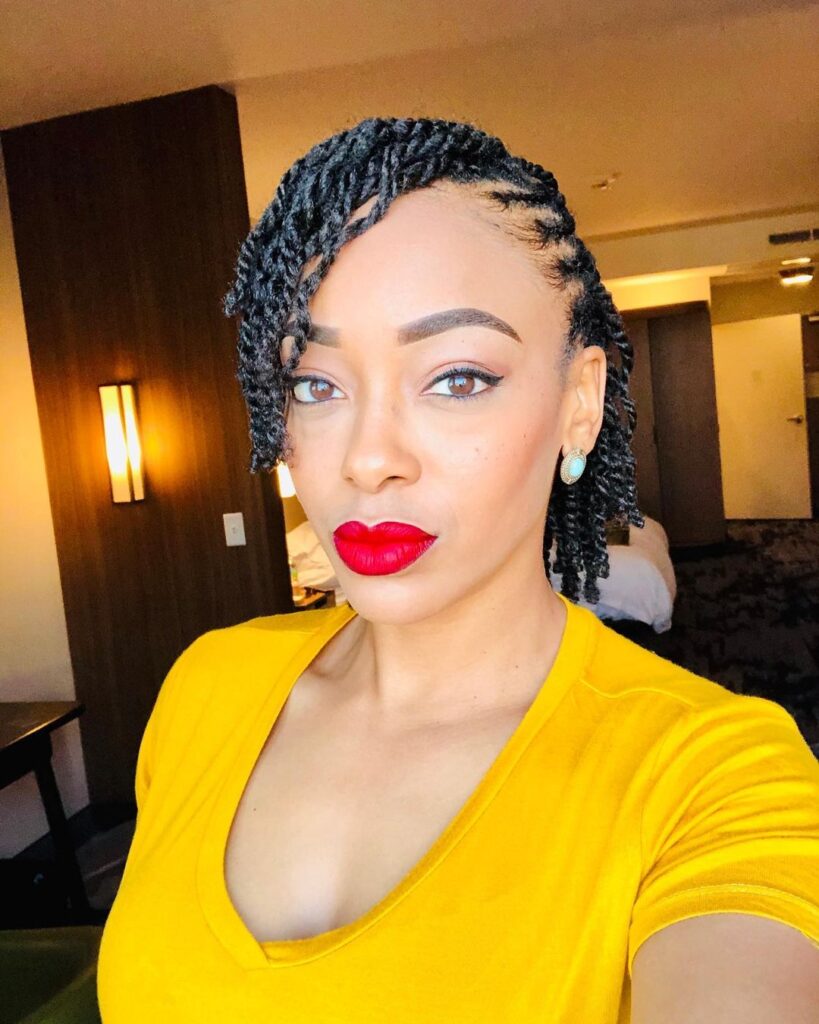
Mini Twist Puff
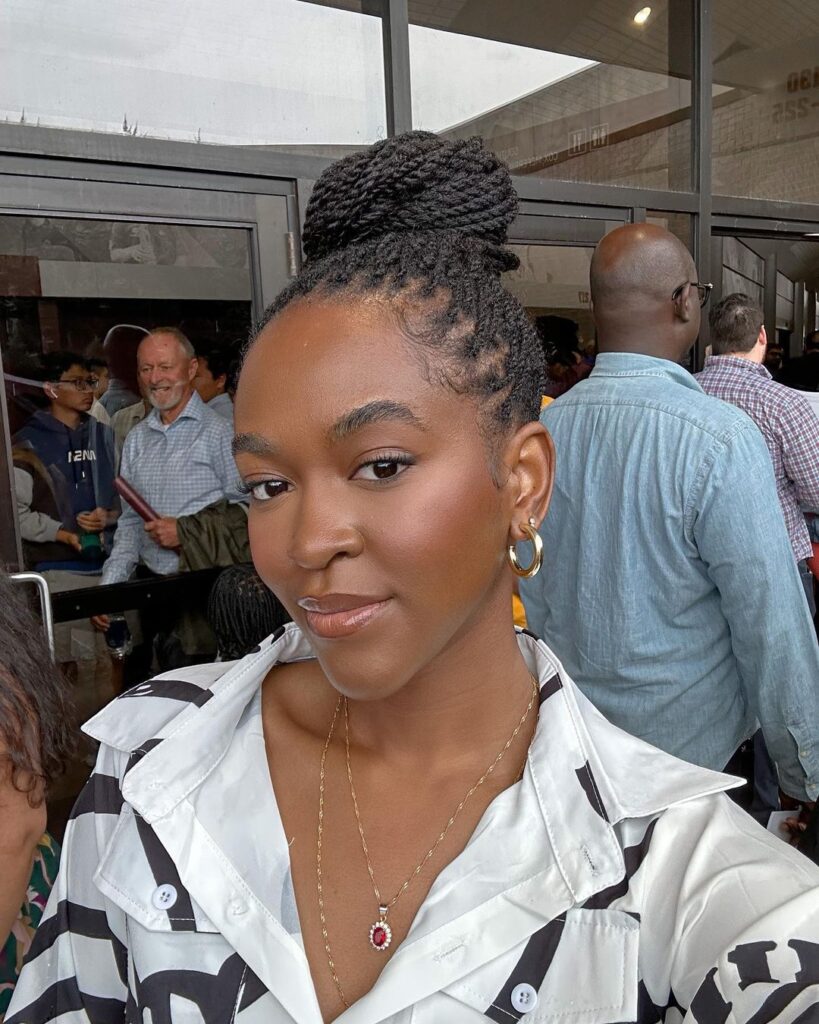
Short Mini Twists
