The tie-dye trend in fashion keeps recycling itself through the years. Considered as one of the biggest trends in fashion in 2020 so far amid the coronavirus pandemic. From T-shirts, hoodies, swimsuits to anything in need of an upgrade in your wardrobe, tie-dye can be used to create a wide range of colorful designs on your fabric.


Although these 60’s inspired punch can be purchased pre-dyed it’s much fun doing it yourself at home. We’ve rounded up a lot of tie-dye technique on LEURR but for this section we will show you easy tie-dye instructions that works perfectly on your shirt or any fabric item.
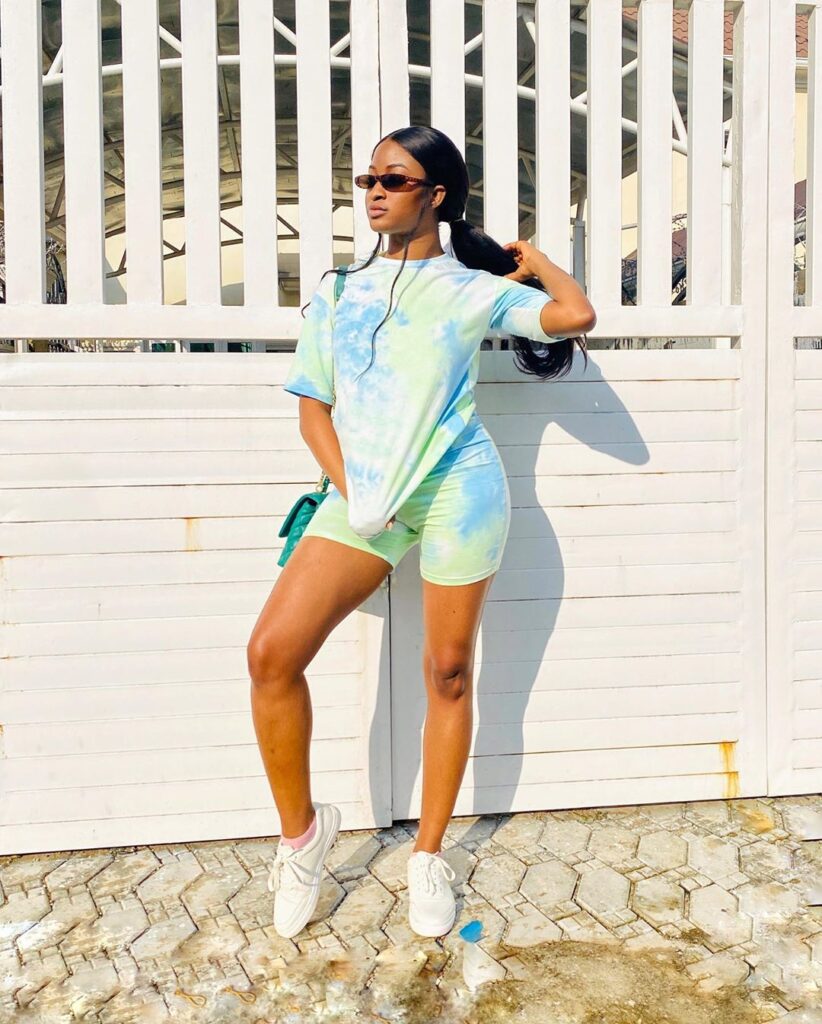
Celebrities like Adesua Etomi, Marii Pazz, Nina IvY etc have join the list of many on the trend. FYI you don’t have to be crafty to jump into the trend – you can tie-dye about anything you put your mind into.
Things You’ll Need
- 100-percent cotton T-shirt or any fabric of choice. Note: Aside cotton, other fibre fabrics like silk or rayon can be used – Synthetic fabric may not absorb the dye at all.
- Rubber bands
- Paper towels
- A bucket or plastic tub
- Plastic to cover your workspace
STEP 1 – Pick a Workspace
Set a place to carry out your work as tie-dye can be messy. Cover your work area with plastic sheet – a garbage bag can be used as a substitute. You’re working with permanent dye – for a safe workspace use the garage or work outside.
STEP 2 – Prepare Your Dye
Once you’ve chosen the dye to use, follow the package instructions. Most dye are highly concentrated, just add and mix your dye with warm water in a squirt bottle or bucket.
Pro tip: Add a little quantity of salt as a mordant to set the dye on your cotton fabric and vineagar if your dyeing wool.
STEP 3 – Choose a technique
Create a tie-dye pattern of your choice with rubber bands or twines. This step is an important part – it solely determines what your fabric will look like.
There are a lot of different patterns to choose from when tie-dyeing:
- Swirl tie-dye technique
- Banding tie-dye technique
- Crumble tie-dye technique
- Polka dot tie-dye technique
- Swirl technique
- Heart technique
- Bull eye tie-dye technique
- Striped tie-dye technique
- Gradation tie-dye technique
- Splatter tie-dye technique
- Sunburst technique
- Summer twist technique
- Ombre technique
Be creative and experiment with your own design and pattern
STEP 3 – Apply the Dye
First off, put on your gloves then add your dye to the desired area once your fabric has been banded tightly – allow the different sections to soak in before adding more.
Make sure you apply one color a time to avoid cross contamination. You may need to rotate or flip your fabric while applying.
Pro tip: For darker hue, you can soak your fabric in a bath dye or simply overlay dye multiple times.
STEP 4 – Let it Sit Over Night
Place the fabric in a plastic bag or wrap when you feel like your design is finished to keep the moisture locked in. Let it set for at least 6 to 8 hours or more for bright colours.
Pro tip: The longer a tie-dye sits the better the dye soaks into the fabric.
STEP 5 _ Wash Fabric Alone with Cold Water
This last step is critical to make sure you set your tie-dye properly and keep it from fading. Remove fabric with stick or tongs, unfasten the twine or rubber bands and rinse out your fabric in cold water, squeezing out excess dye in the process. Rinse until it runs clear.
Once this is done wash alone in cold water and allow to air dry.


